 Lighting
Set up DEFA Balancer
Warning! DEFA Power has to be installed by a certified electrician. This guide is intended for installers only.
The DEFA Power Setup app is the tool that installers use to complete a DEFA Power installation. The app is required to continue the guide described below. More information on how to download the app here.
Add a DEFA Balancer to an installation:
1
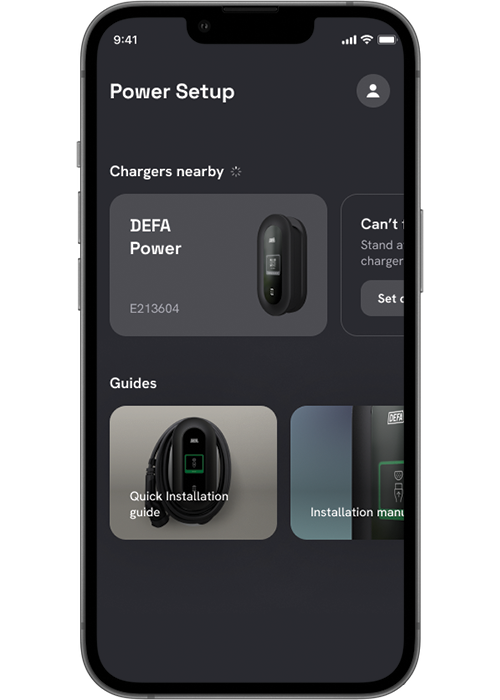
Search and connect to DEFA Power
Open the DEFA Power Setup app and search for charging stations under Chargers nearby.
- Ensure the charging station is in setup mode
- Make sure you are within short range of the charger
- Select the correct charger ID
(The charger ID is displayed at the top of the charging station screen)
Once selected, pairing will begin. Accept the pairing request if prompted.
Note:
- If you experience connection issues, verify that the charging station is in setup mode.
- A cogwheel icon should appear in the top-left corner of the charger display.
If the icon does not appear:
- Restart the charging station by switching the fuse off and on again.
- Wait for the charger to reboot and re-enter setup mode
2
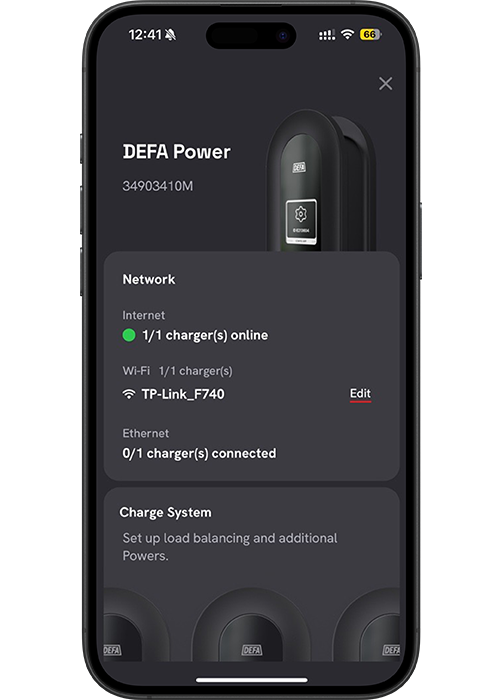
Set up the Charge System
Ensure the charging station is connected to the same network that will be used for the DEFA Balancer.
In the app, select Set up under Charge System.
Network options:
Wi-Fi:
Enter the network password. You will receive a confirmation once the charger is online.
Mobile network:
Refer to the documentation for mobile network setup.
Ethernet:
If an Ethernet cable is connected, it will be detected automatically and shown on the dashboard.
Important:
For local load balancing, all devices must be connected to the same network.
For detailed requirements, see the network requirements documentation here.
3
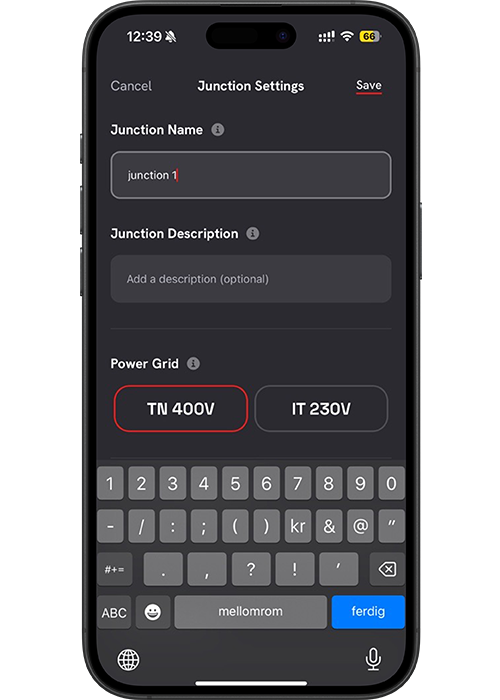
Junction name
Enter a name for the junction, for example:
- Junction 1
- Main circuit
- Garage distribution board
This name helps identify the electrical circuit associated with the chargers.
4
DEFA Balancer Setup
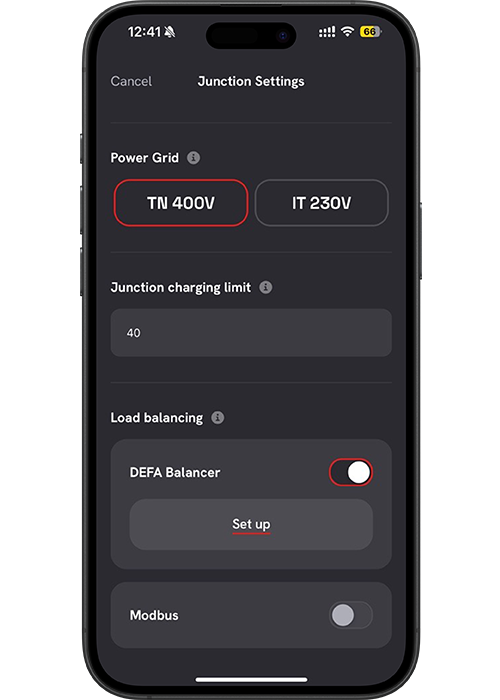
Scroll down to Load balancing:
- Toggle DEFA Balancer to ON
- Select Set up under DEFA Balancer
5
Select a Balancer on the same network
Any DEFA Balancer connected to the same Wi-Fi or LAN network as the charging station will appear in the list.
- Select an existing Balancer
or - Select Set up new Balancer

6
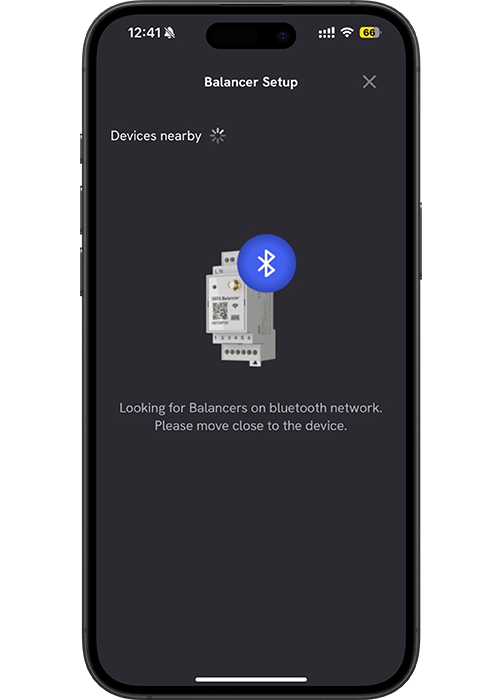
Connecting via Bluetooth
The app will now attempt to connect to the DEFA Balancer via Bluetooth.
- Move physically close to the DEFA Balancer
- Ensure Bluetooth is enabled on your device
7
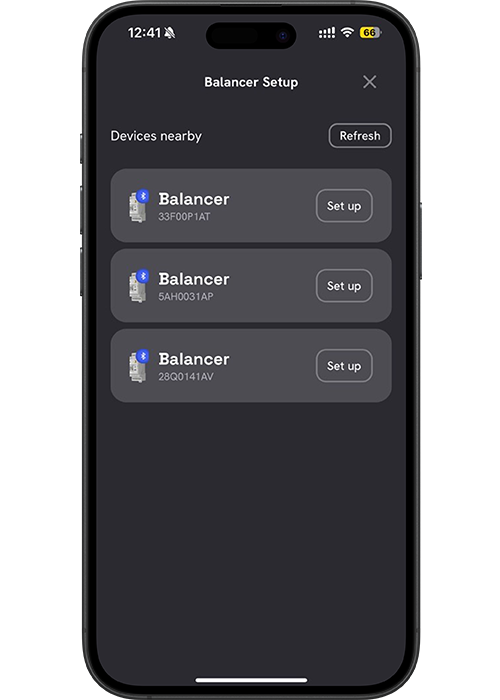
Bluetooth connection – Balancer
When the DEFA Balancer appears in the list of available Bluetooth devices, select Set up to continue.
8
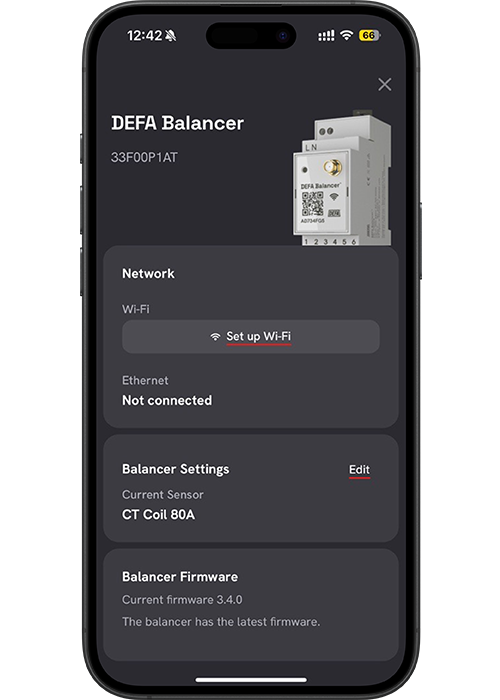
Set up network (Balancer)
Once connected to the DEFA Balancer, select Set up on the Network card.
9
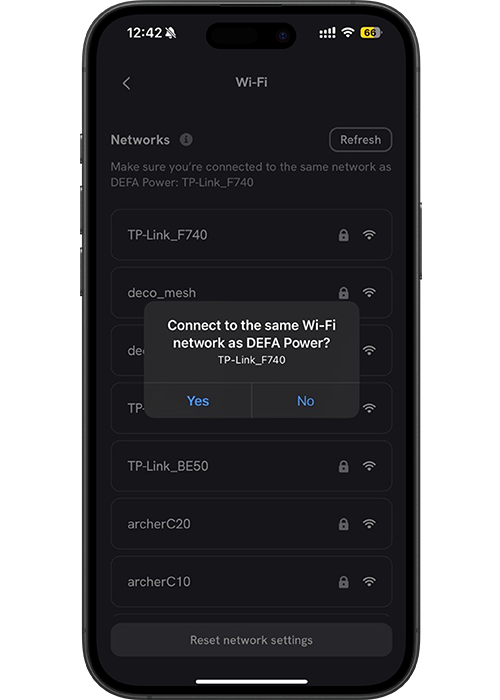
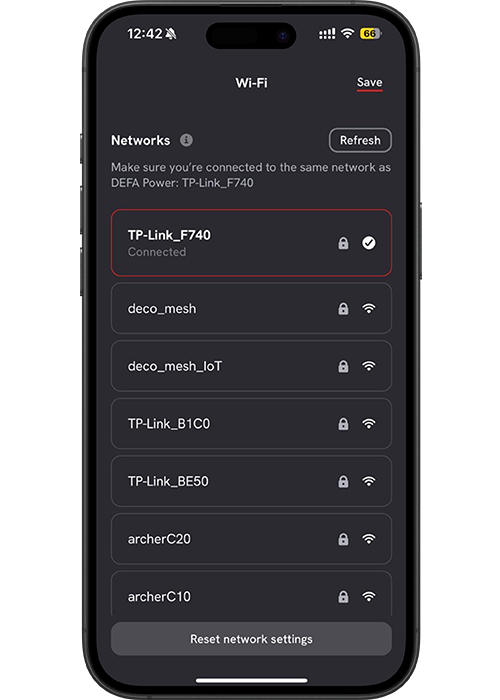
Network configuration
The DEFA Balancer will attempt to connect to the same Wi-Fi network used by the charging station.
- If the charger uses Ethernet, the balancer can still connect via Wi-Fi
- Ensure both devices are on the same local network
Select Save once the DEFA Balancer is successfully connected.
10
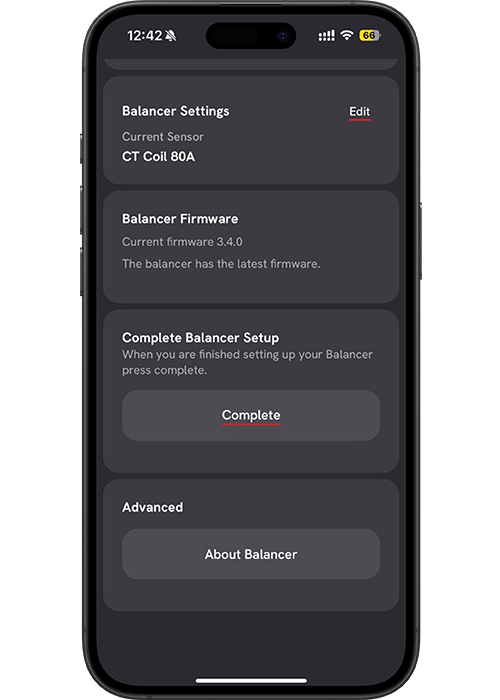
Complete Balancer setup
Scroll down and select Complete Balancer setup.
You will be guided back to the Charge System – Balancer Settings view.
Note: You may need to move closer to the charging station again to re-establish the Bluetooth connection.
11
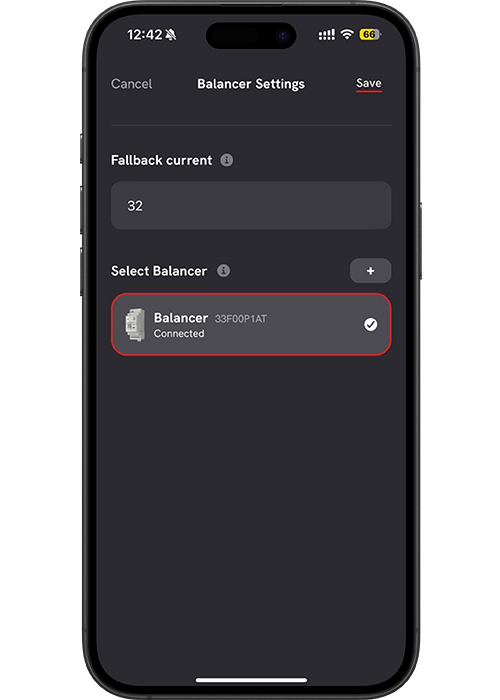
Link the Balancer to the charge system
Once reconnected to the charger, the selected DEFA Balancer will appear as linked.
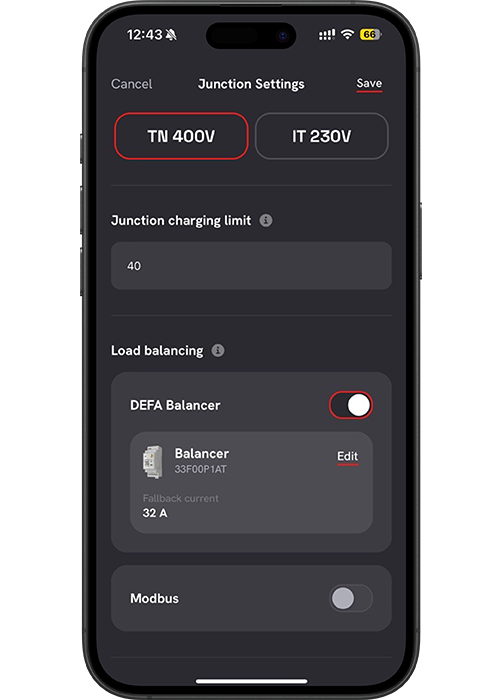
Fallback Current
In this view, you can also configure Fallback current.
- The fallback current is the value DEFA Power will use if communication with the balancer is lost
- This value is shared across all chargers connected to the same junction
- It ensures safe operation even if the balancer is temporarily unavailable
After selecting both:
- The Balancer
- The Fallback current
Select Save in the top-right corner.
12
Save junction settings
Your junction is now configured with a DEFA Balancer.
- Select Save in the top-right corner to store the settings
- The DEFA Balancer setup is now complete
You may now select Complete setup or close the view using X.
Updated: April 16th, 2026


